
Welcome to my Corner of the World
This is the 3rd part of creating this Junk Journal. As you will see from the video I am working out how to create pages and pockets to attach to the NO SEW hinges from part 2 (see link below)
Continue readingThis is the 3rd part of creating this Junk Journal. As you will see from the video I am working out how to create pages and pockets to attach to the NO SEW hinges from part 2 (see link below)
Continue readingSince my retirement as a Stampin’ UP! demonstrator I have been working on new ideas and trying out new products. In today’s video I am using a Gina K Designs stamp set and die bundle with the coordinating layering stencils. Layering Stencils is another way to color in stamped images, it is really easy
Continue readingThis is the next step in the Ocean/Beach themed junk journal I am currently working on. This is the 4th journal I have made and, like the others, I am experimenting with different ideas and techniques from those I have done before. I wanted this journal to be a NO SEW one so in the accompanying video I work thru creating the hinges and attaching them to the cover I made before.
Continue readingOften times I have an idea for a card it could be a theme or a colour combo or a sketch. Today it was a colour combo that caught my eye and I wanted to play with it. In the video I work thru the various ideas and thoughts for pulling together a design to show the colours to their best. Although I have made this as a birthday card it would be perfect for a thank you, thinking of you, inspirational even as a sympathy card, just change out the greeting and you are good to go!
Continue reading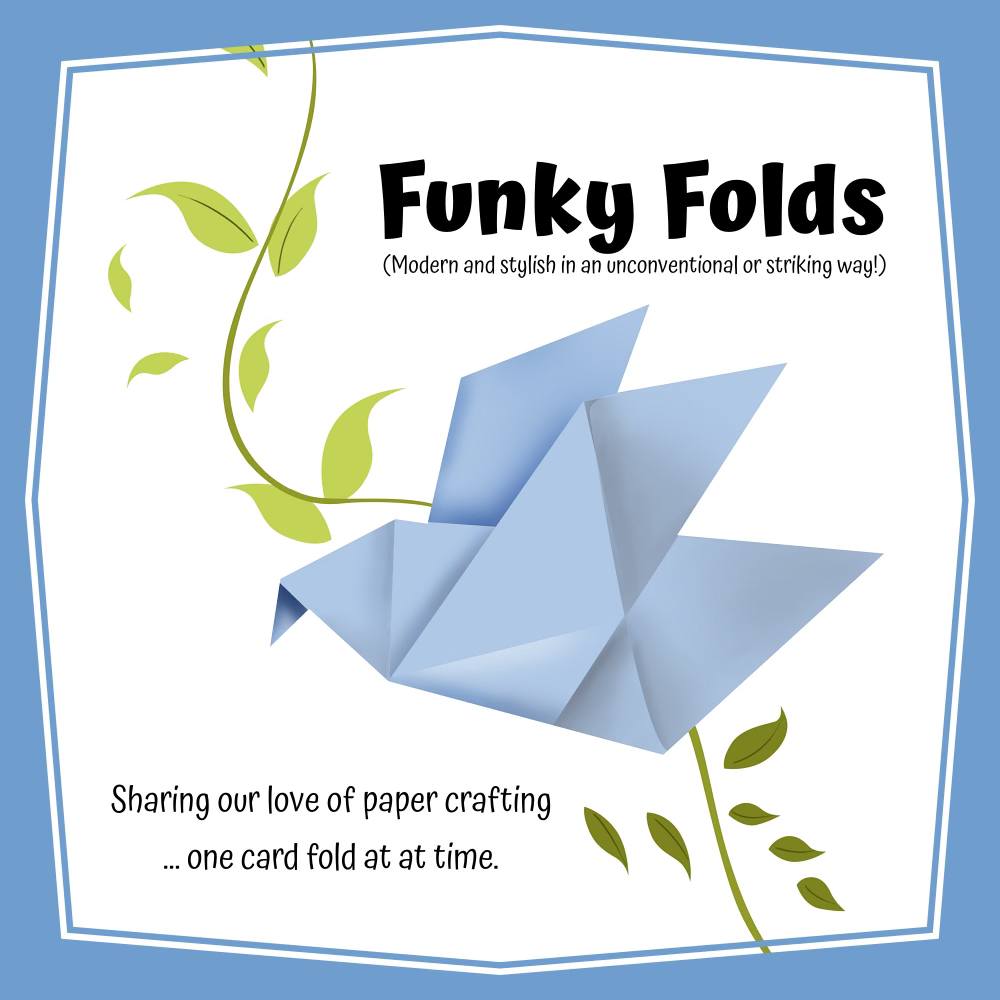
Welcome to the Funky Folds Hop ~ a community for like minded paper crafters who love to make cards with funky folds and to share our ideas. Funky actually means “modern and stylish in an unconventional or striking way” so hang onto your hats and see what the talented artisans have to offer 🙂
We don’t have a specific theme ” anything goes” it is all about the fold!! So today I offer an Interlocking Fold with instructions for two sizes!
Continue readingSo thrilled with the result after finishing my green foliage themed journal I wanted to start another straight away – and I wanted to try some new ideas and techniques. This time I am making a ‘NO SEW’ journal and starting with the cover before moving onto hinges and signatures (pages).
It is my plan to finish this one a lot quicker than I did my last journal (that took about 18 months with all the stops and starts with moving from one country to another!) So please plan to follow my journey with this series of posts and accompanying videos. 🙂
Continue readingContinuing with my quest to try out new ideas and products todays square card uses humming bird themed decorative paper for its focal point and then some pretty die cuts to bring some extra elegance.
The result is a stunning hummingbird anniversary card that is almost too pretty to give away. With its elegant design and beautiful hummingbirds, this card is perfect for any couple celebrating their anniversary.
Continue readingI really enjoyed working on this journal, I set out to experiment and I did…………. from working out how to create different types of signatures (pages) Pockets, Master Board, Tags, Journaling spots, cover and sewing technique. I loved every minute of its creation and I loved that I shared it all thru my blog and videos.
I am starting to think of the next journal I want to make and deciding what format I want to use, I plan to share its creation with you once I get going………. So watch this space 🙂
Continue readingToday’s card is one of experimentation! As I explain in the video I had a new die that I wanted to use with a blending brush and ink technique, I also had 3 different kinds of ink to do some blending, so I used the opportunity to check out the different inks and end up with a pretty birthday card!
Continue readingThis is the last but one post on this journal!!!! What with one thing an another, it has taken me about 16 months to get to this stage, but I did not want to rush it and by taking my time I learned more techniques and had more ideas for experimenting with different types of signatures, sewing techniques and embellishments and I have bought all of them to you in my posts and a series of videos.
Today’s video shows how I added the various embellishments I have created over the months, my thought in placing them and a few tweeks along the way!
Continue reading