
I have a small, but precious team of Stampin’ UP! demonstrators and each Christmas I like to make them a gift . This year I decided to make a ‘Flip-over’ calendar for each of them using the Tolsby picture frame from IKEA. After I finished each of the months I realized that the design could equally be used as a card front, so each can do double duty!
Today I am sharing the last 3 months. You can catch up with Jan thru March here, April thru June here and July thru September here.
After I completed the calendar many of my ladies admired it – so later this year we will be doing a class to make the calendar for 2019.
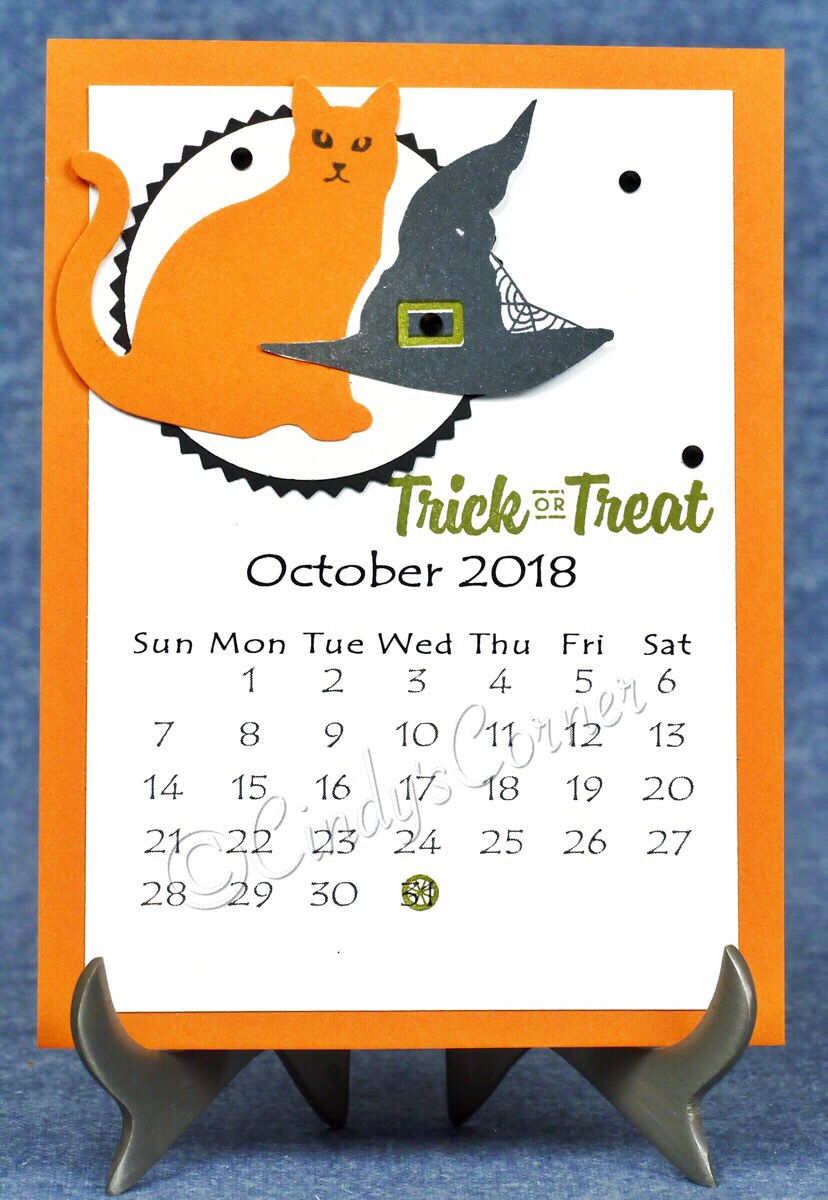
October celebrates Halloween
Layer 1: 5 1/2 x 4 Pumpkin Pie Card
Layer 2: 5 x 3 1/2 Whisper White
I used the Spooky Cat stamp set for October (sadly retired at the beginning of January) with Archival Black and Old Olive Slate Ink. The Cat is cut from Pumpkin Pie card with the Cat Punch and I fussy cut the witch’s hat with sharp paper snips. I colored some rhinestone with a black Sharpie and scattered them around.
On to November – the month for Thankfulness ~ :

Layer 1: 5 1/2 x 4 Cajun Craze Card
Layer 2: 5 x 3 1/2 Whisper White
The Paisley’s and Posies Stamp set is was used to create the pattern at the top, and I went a little crazy with the ink colors ~ Soft Suede. Crushed Curry, Rich Razzleberry and Emerald Envy. I finished this one with a sprinkling of Gold Metallic Enamel Shapes.
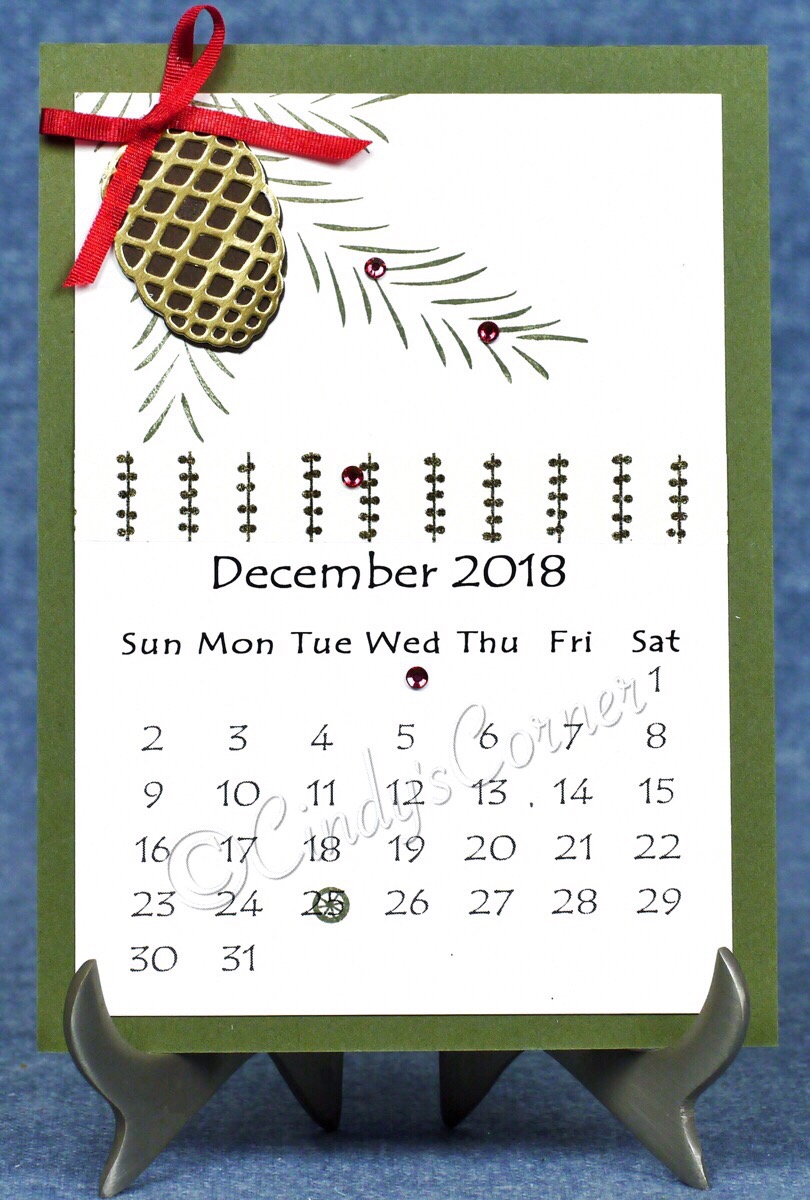
December completes the year :
It can be hard to find any theme other than St Patrick’s day for March – unless Easter falls early but for 2018 Easter falls on April 1st.
Layer 1: 5 1/2 x 4 Always Artichoke Card
Layer 2: 5 x 3 1/2 Whisper White
The Christmas Pines Stamp Set was the obvious choice for me for December. I used the Pine Twig stamp with Always Artichoke ink then cut a pine cone using two of the dies from the Pretty Pines Thinlets set, the background in Early Expresso Card and the top ‘lacy’ looking layer from Gold Foil. Again I colored some Rhinestones, this time with a red Sharpie and topped the pine cone with a bow made from the 1/8 real red ribbon.
Thank you for stopping by I hope you like today’s project – please let me know in a comment ~ by using that little link just under the title.
If you are in need of any stamping supplies, I would love to be your demonstrator. Just click on the Shop Now button on the right side of my page and go directly to my online store.
If you want to create this project all the supplies are available 24/7 in my on-line – just click a picture and it will take you right there, just order what you need. Please use the Host code at checkout so that I can send you a thank you for shopping with me. (it is up there on the right just under the pink purse)


Give me a shout if you need any more information or want to book a class or a party!
 If you’d like any of the supplies, to shop, or to get a catalog, please feel free to contact me, and if you’re thinking of joining Stampin’ Up! and my team I’d most definitely like to hear from you

