Continuing with the ‘Flip-over’ calendar using the Tolsby picture frame from IKEA. that I made for my small, but precious team of Stampin’ UP! demonstrators Christmas gift .
After I finished each of the months I realized that the design could equally be used as a card front, so each can do double duty!
If you missed the first months you can find January thru March here and April through June here
July celebrated Independance Day with a lovely swirl of Gold heat embossed stars and some red, white and blue ones as well.

Layer 1: 5 1/2 x 4 Real Red Card
Layer 2: 5 x 3 1/2 Whisper White
I used the beautiful starry swirl from the Star of Light Stamp set, embossed with gold – although this is a ‘Christmas’ themed set, it just shows that it can be used for other seasons and themes. the stars were cut from scraps of Night of Navy card, Red Glimmer Paper and Silver Foil using th Mini Treat Bag Thinlet dies that has a strip that will cut about 7 in one go.
Next onto lovely August –
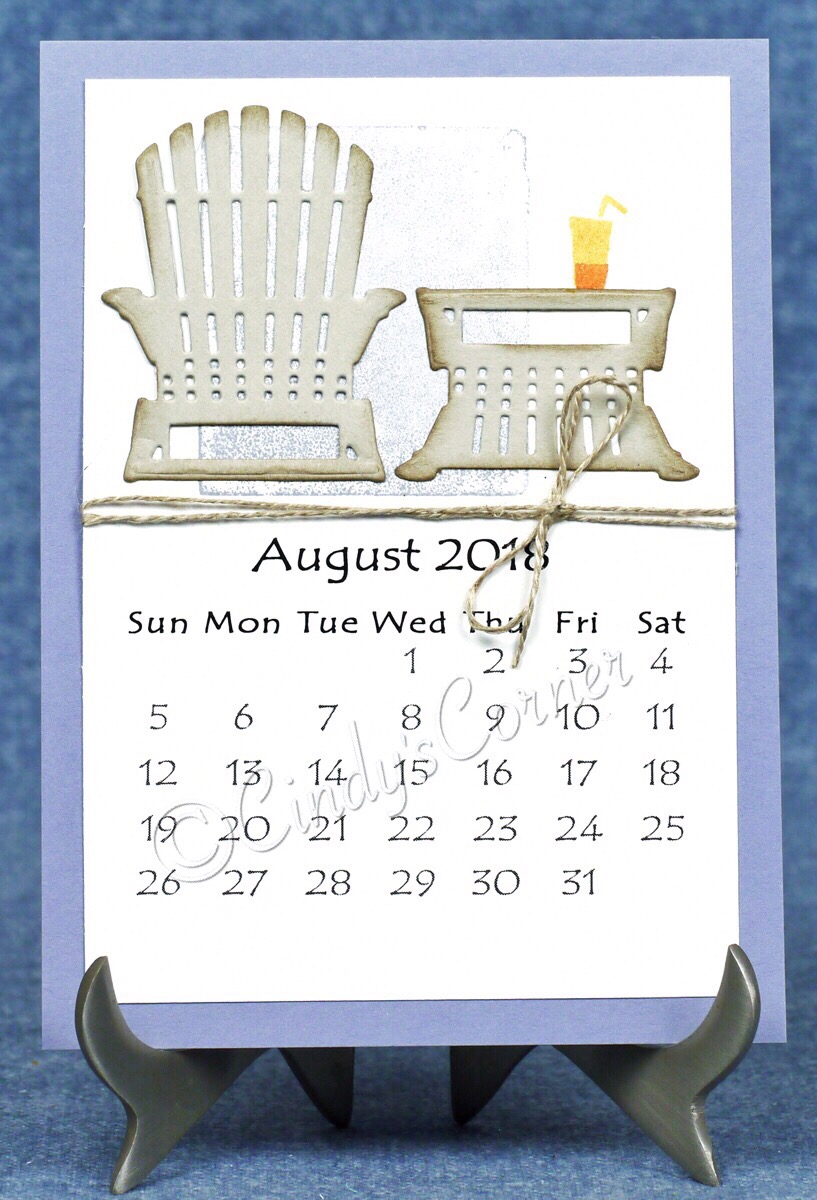
Layer 1: 5 1/2 x 4 Wisteria Wonder Card
Layer 2: 5 x 3 1/2 Whisper White
The Colorful Seasons Stamp Set and coordinating dies came out for August and September’s calendars. I stamped a clear D Block into the Wisteria Wonder ink pad, spritzed it with a little water before applying it to the Whisper White card, it kind of gave it a bit of a hazy bloom of a ‘skyline’ . The chair was cut from Sahara Sand card using the Seasonal Layers Thinlets then sponged with some Sahara Sand ink. I cut out 2 of the chairs, then cut off the ‘back’ of one of them, turned it upside down to create the table. My ‘Tequila Sunrise’ was stamped directly on the white card so it looked as though it is sitting on the table. A little linen thread wrapped around to complete the laid back look.
September starts the autumn:
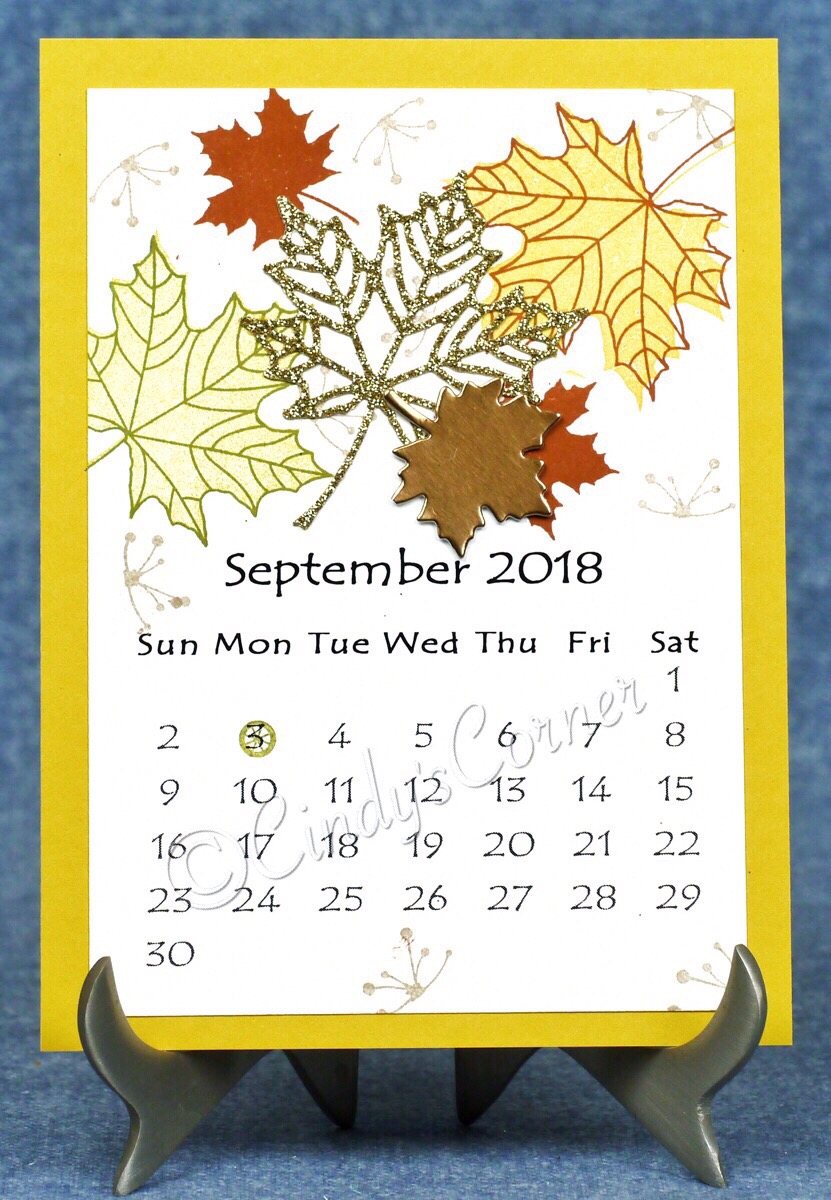
Layer 1: 5 1/2 x 4 Crushed Curry Card
Layer 2: 5 x 3 1/2 Whisper White
I just used as many of the ‘leafy’ stamps in the Colorful Seasons Stamp Set as I could using Cajan Craze, Old Olive and Crushed Curry ink.
The Seasonal Layers thinlets provided the beautiful filigree leaf cut out of a scrap of Gold Glimmer paper and the solid leaf from a small piece of Copper Foil.
Thank you for stopping by – watch out for April thru June in a few days. I hope you like today’s project – please let me know in a comment ~ by using that little link just under the title.
If you are in need of any stamping supplies, I would love to be your demonstrator. Just click on the Shop Now button on the right side of my page and go directly to my online store.
If you want to create this project all the supplies are available 24/7 in my on-line – just click a picture and it will take you right there, just order what you need. Please use the January Host code at checkout so that I can send you a thank you for shopping with me. (it is up there on the right just under the pink purse)