
Welcome to my Corner of the World
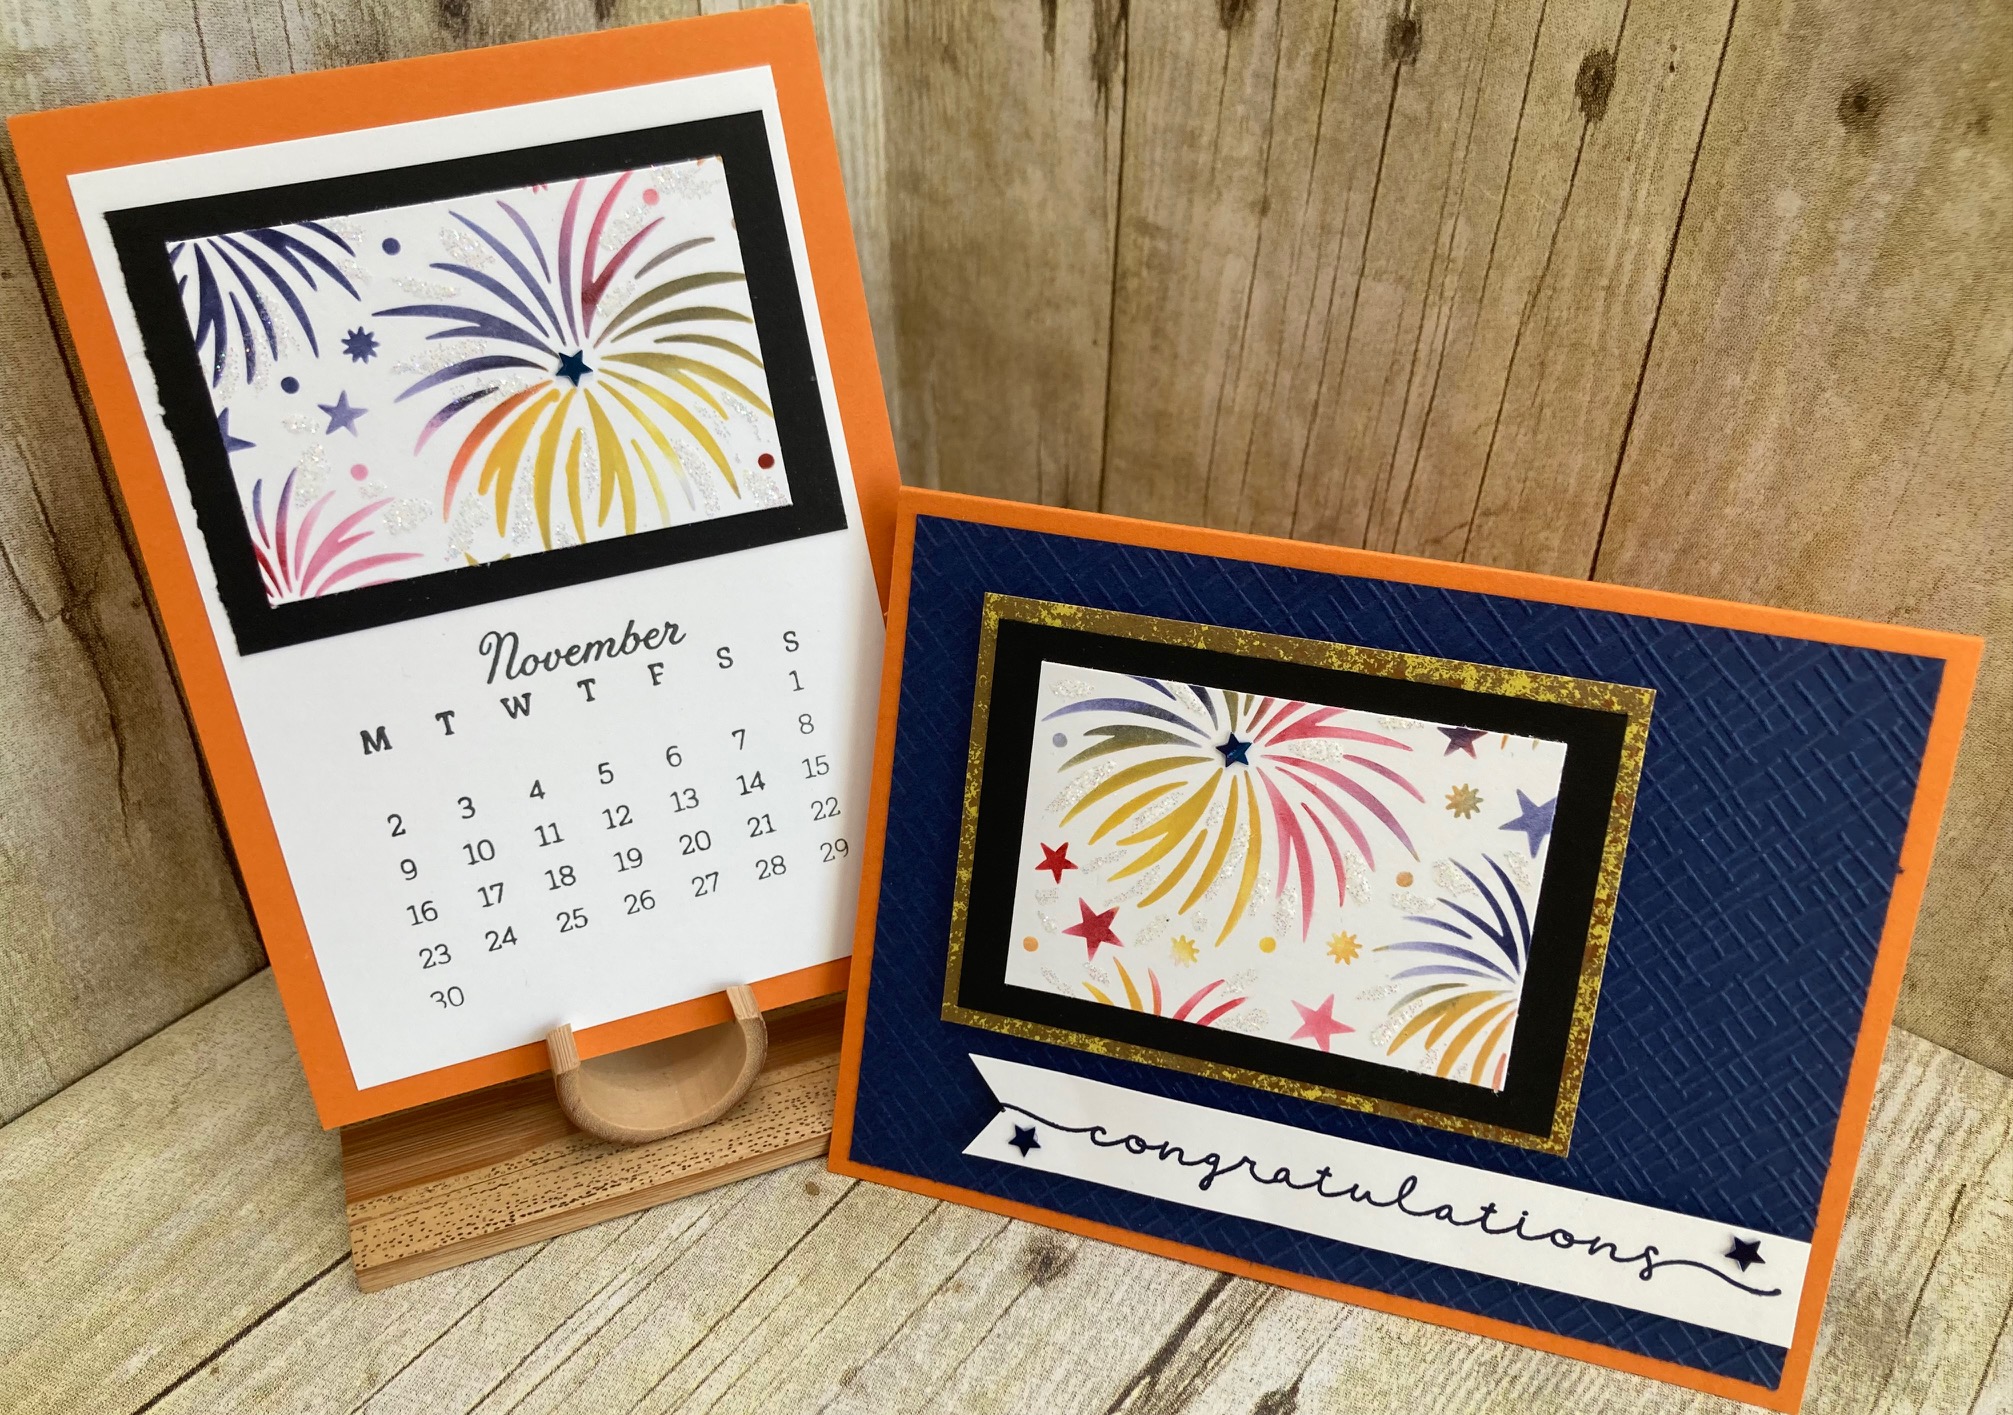
For the last 5 – 6 years I have designed and enjoyed making my flip over desk calendar for the ladies who came to my classes. As I have done for the last few years I am going to be sharing one at the start of each month. Like last year, I recognize not everyone is into making 3D items so have created a card for each month, using elements from the calendar for that month and included a video to show how I went about making the card.
So today I share 2 versions ~ one to celebrate Thanksgiving in the US and another for Guy Fawkes and Fireworks in the UK !
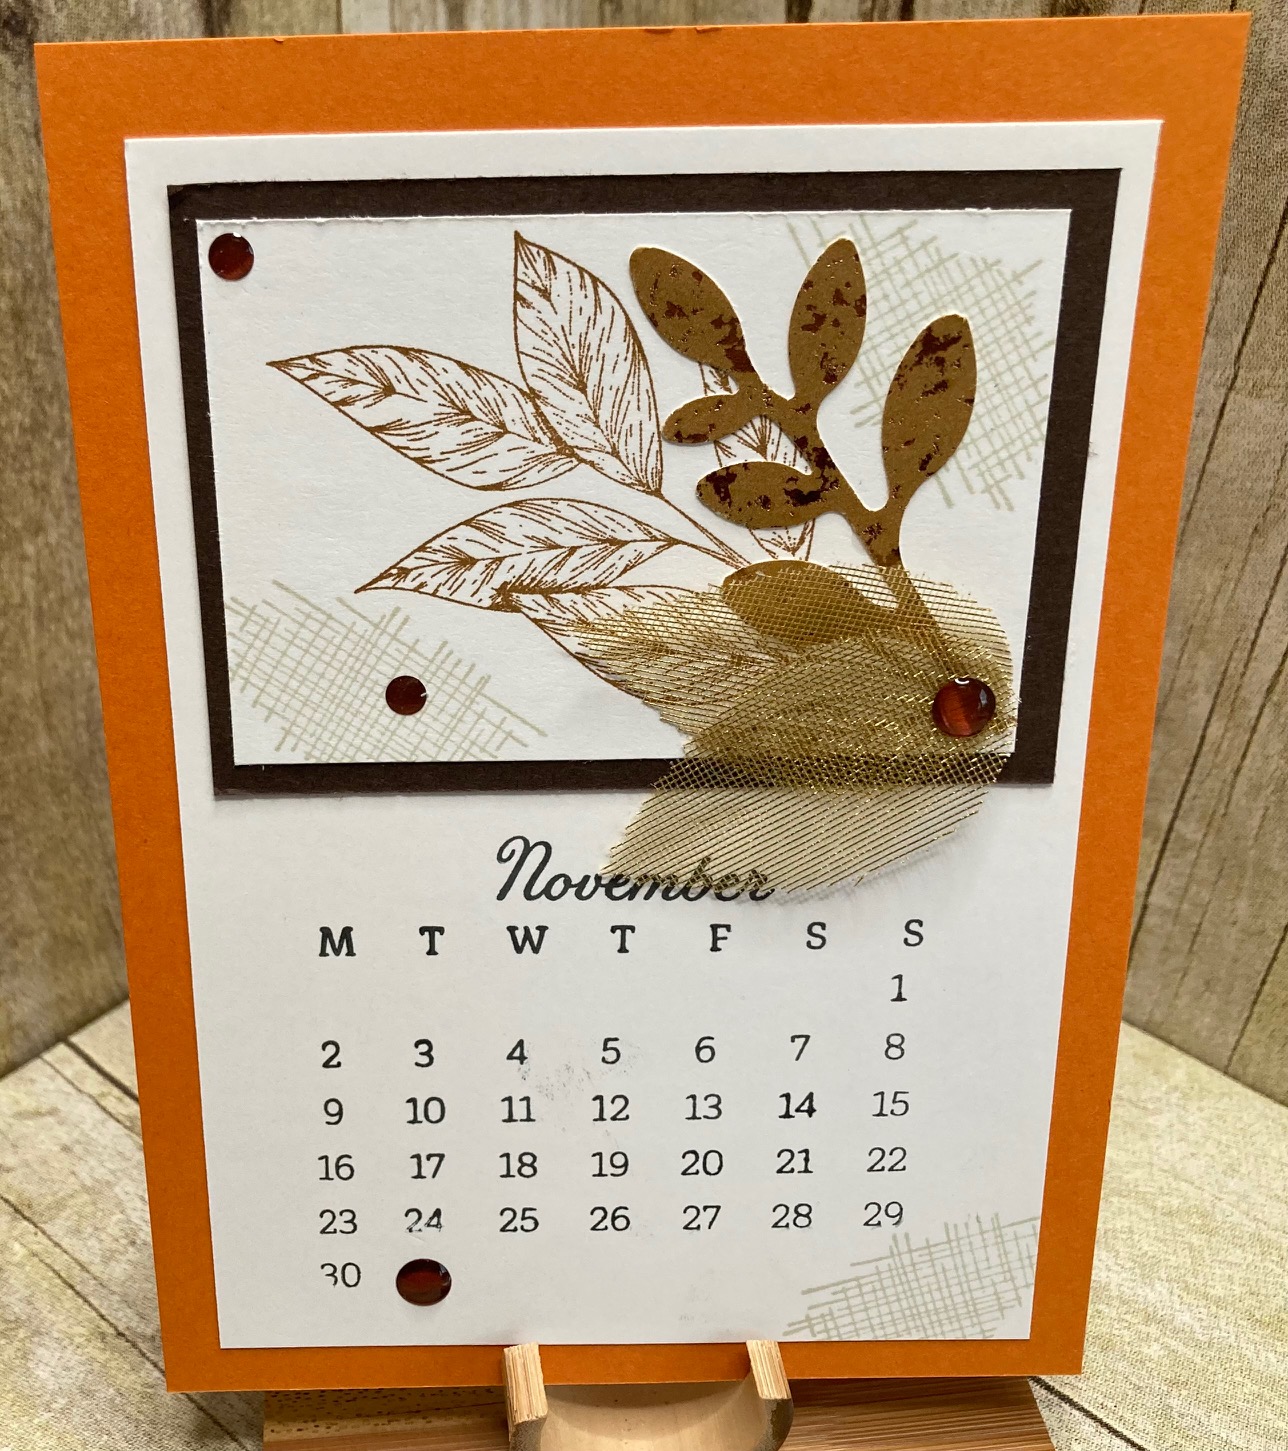
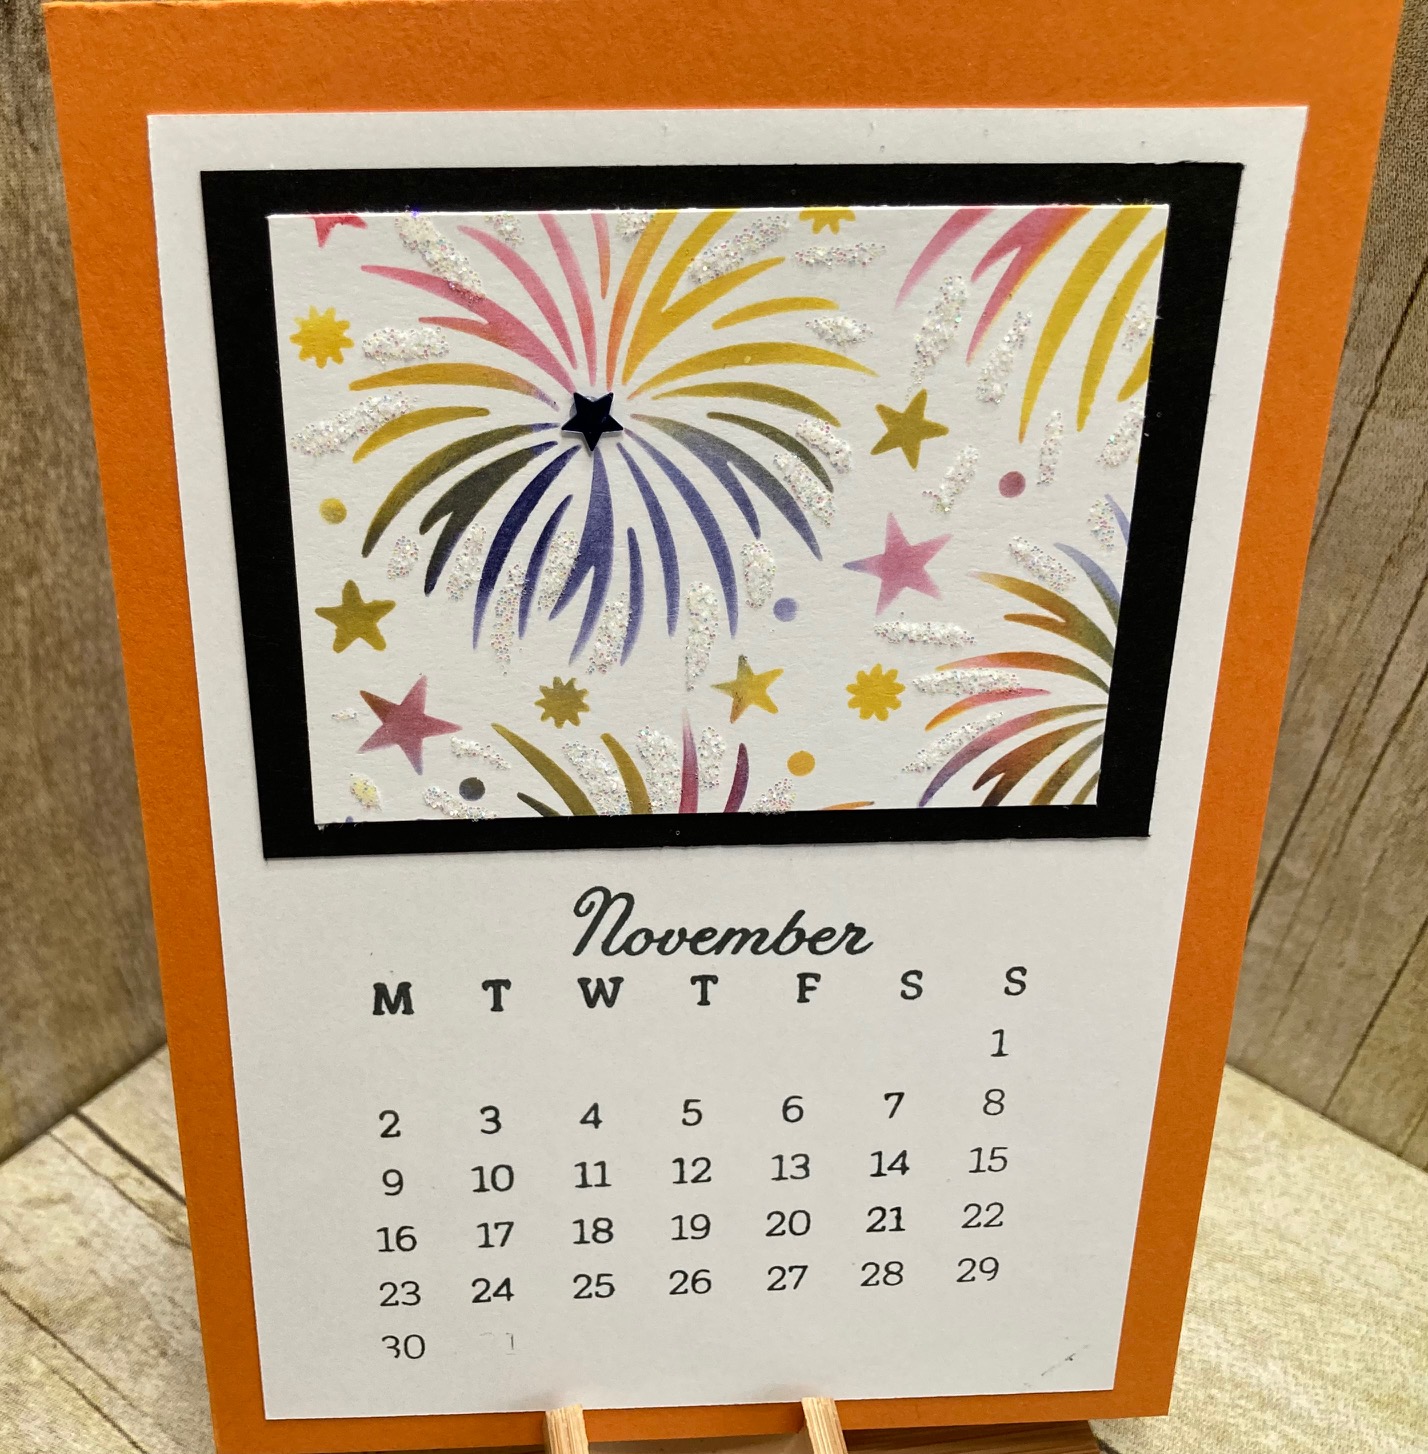
- Base Card: 5 1/2 x 4 Pumpkin Pie Card
- Calendar Layer : 5 x 3 1/2 Basic White Card
- Layer 1: 3 1/4 x 2 1/4 Black for the UK version and Early Expresso for the US version
- Layer 2: 3 x 2 Basic White Card
- Ink Color: Crumb Cake, Pecan Pie for US version & Real Red, Night of Navy & Daffodil Delight for UK version
As I work thru the year some of the products used might have retired, however you may have them in your stash or find a suitable alternative, either way enjoy 🙂
The calendar part is made using the Days to Remember Stamp Set ~ which is cleverly designed to cover all the months of the year. I have a video on how I used it to create my calendar. Check out how I did this
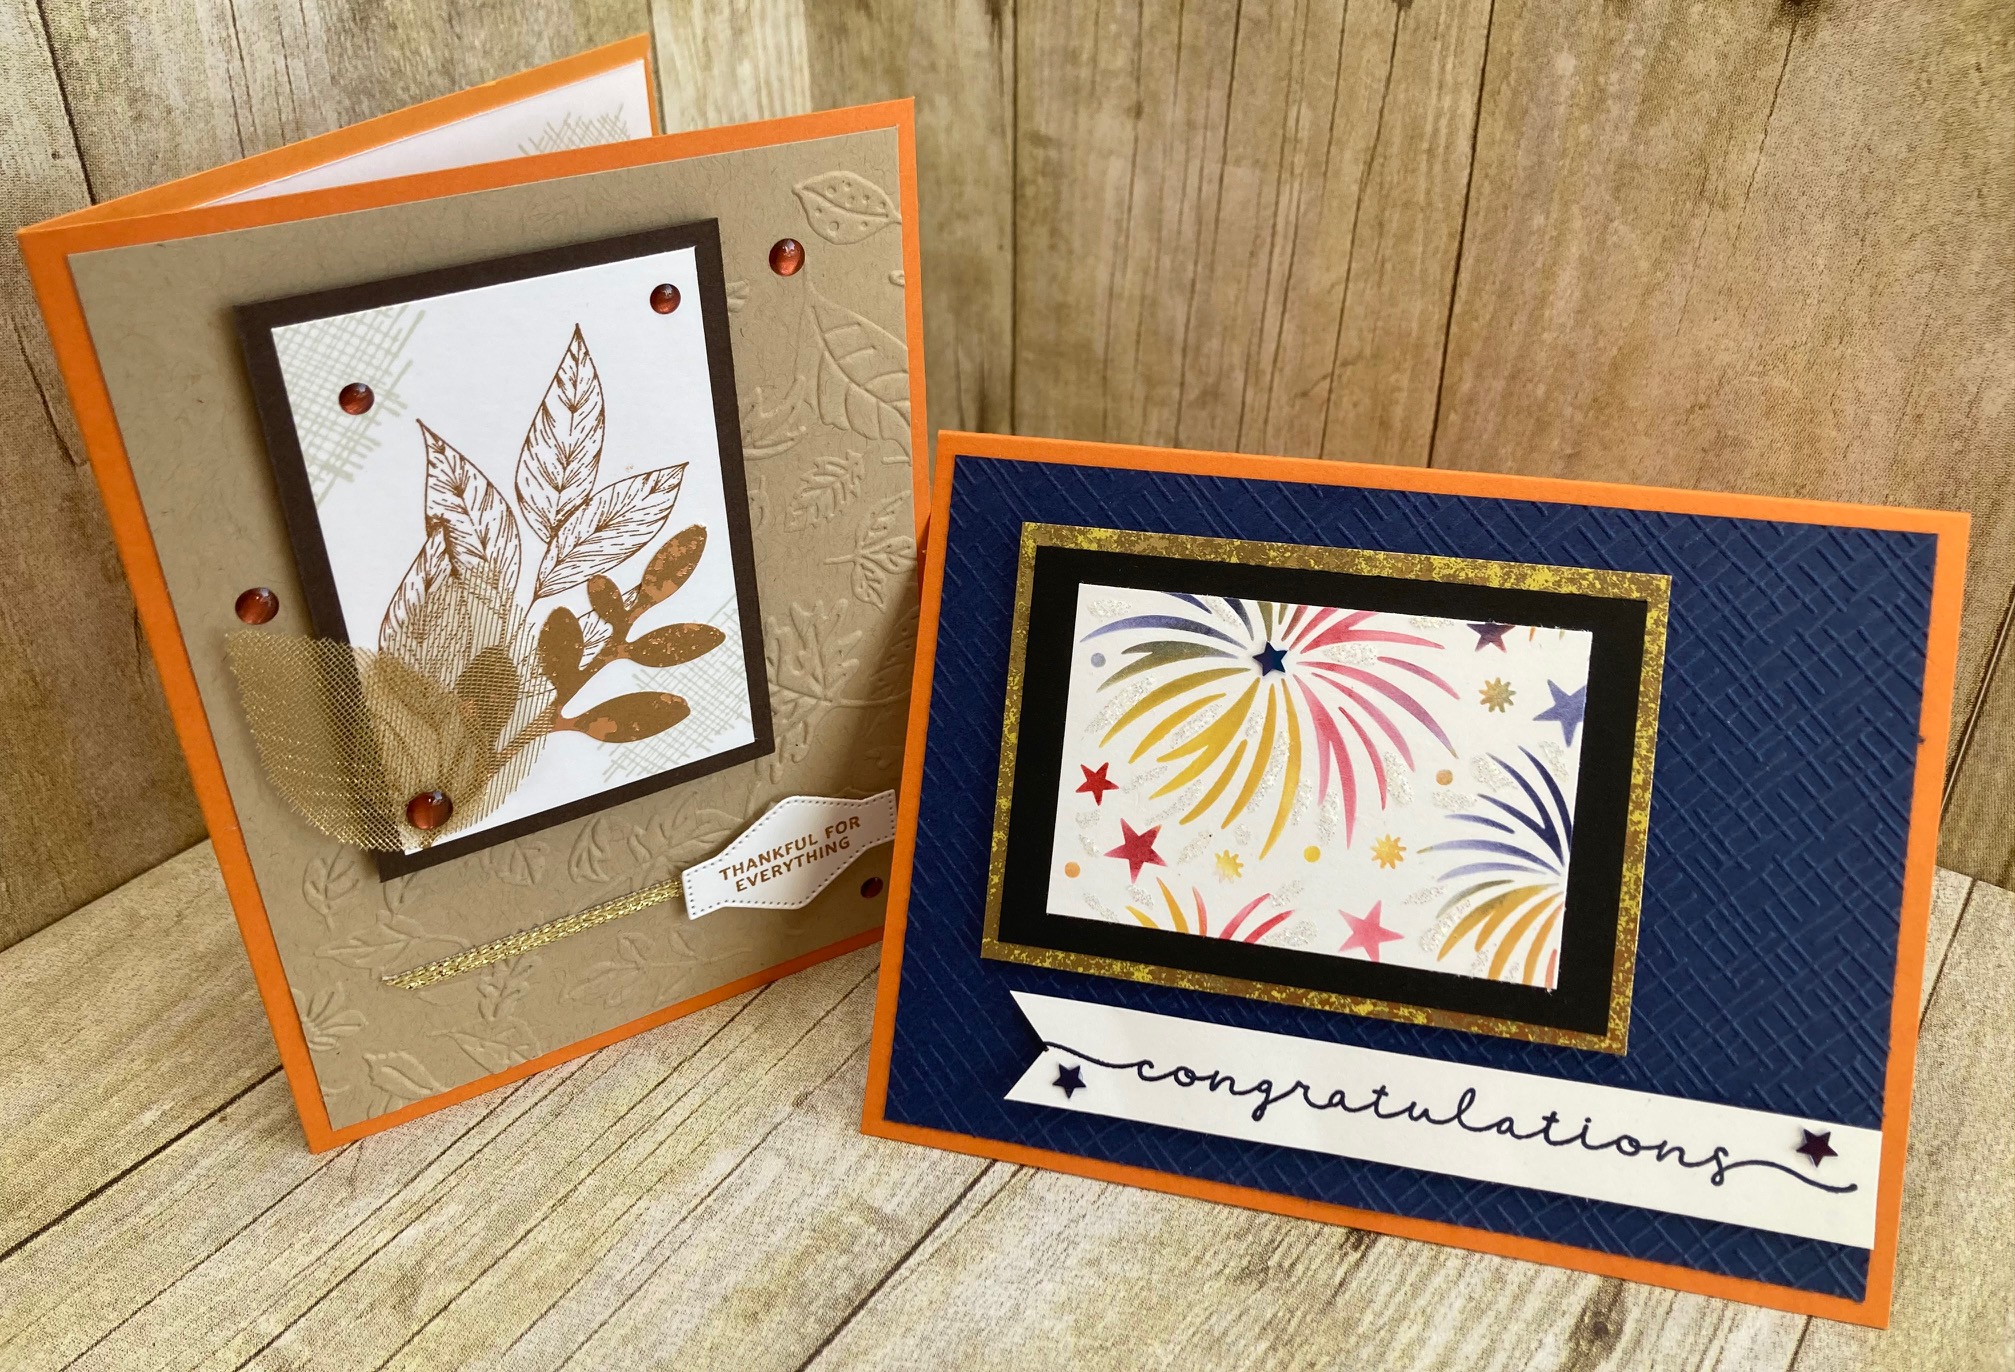
As we don’t really send cards for Guy Fawkes/Bonfire Night I made the card into a celebration theme as I thought the fireworks would be great for a celebration. Back in July I created a similar one for July 4th, you can check that one out by clicking here!
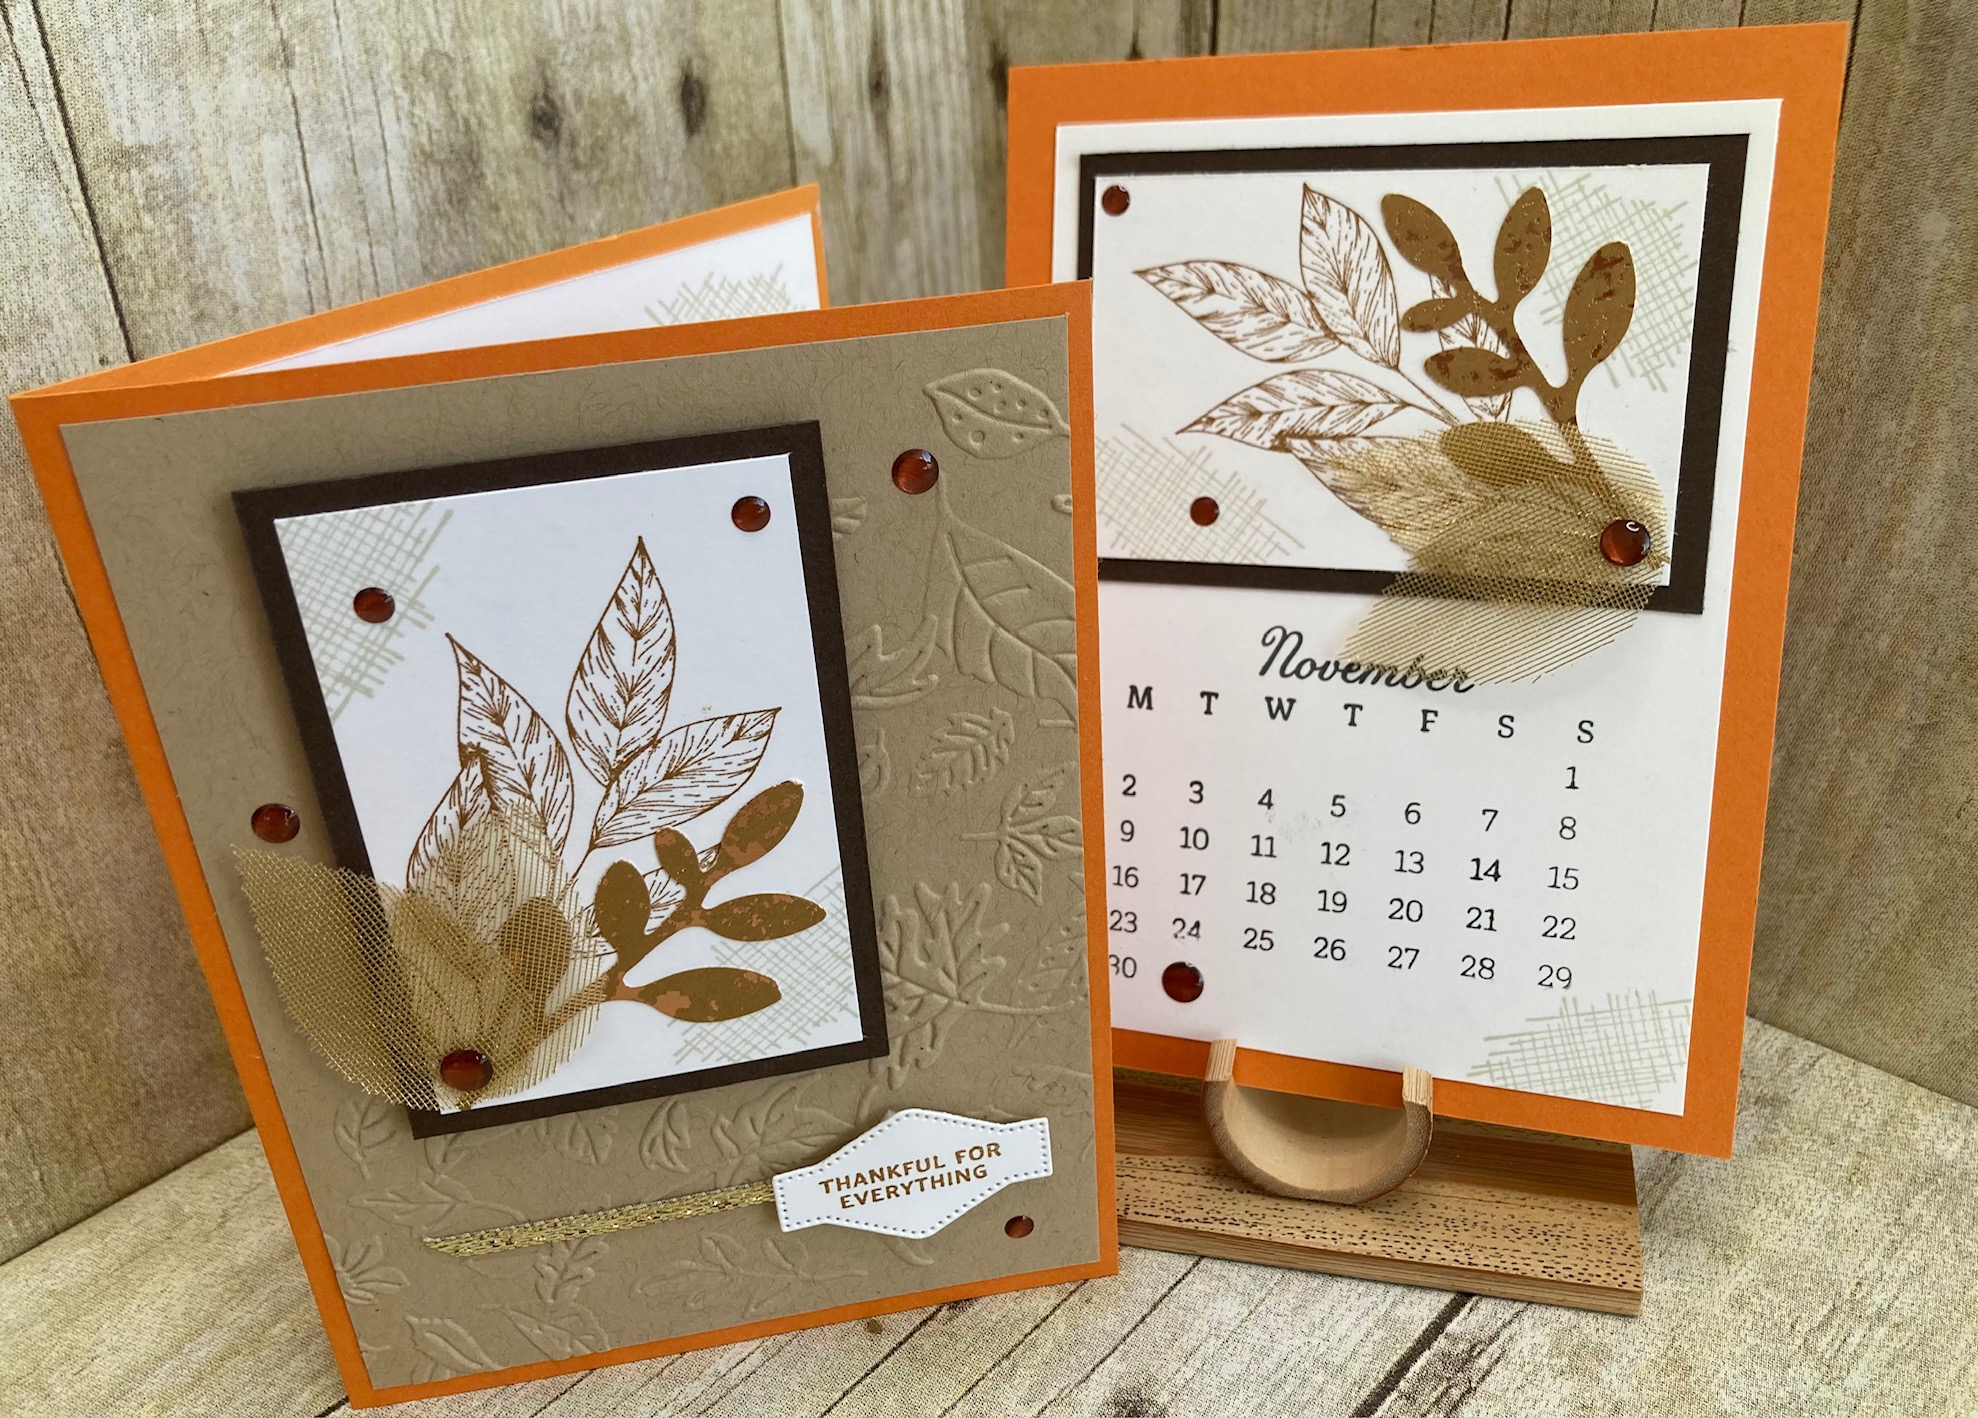
US Version:
- Card Base: 8 1/2 x 5 1/4 Pumpkin Pie Card ~ scored @ 4 1/4
- 2nd Layer : 5 1/4 x 4 Crumb Cake Card run thru embossing machine with Leaf Fall Embossing Folder
- 3rd Layer: 3 1/4 x 2 1/4 Early Expresso Card
- 4th Layer : 3 x 2 Basic White Card
- Ink Color: Crumb Cake & Pecan Pie
UK Version:
- Card Base: 8 1/4 x 5 3/4 Pumpkin Pie Card ~ scored @ 4 1/8
- 2nd Layer : 5 1/2 x 3 7/8 Night of Navy Card run thru embossing machine with Basics 3DEmbossing Folder
- 3rd Layer: 3 1/4 x 2 1/4 Black Card
- 4th Layer : 3 1/2 x 2 1/2 Distressed Gold Paper
- 5th Layer: 3 x 2 Basic White Card
- Ink Color: Real Red, Night of Navy & Daffodil Delight
I hope you enjoyed the calendars, cards and video I shared with you today, I love what I do and spend many hours working on designs, new projects, new ideas and much more. Don’t forget to be a subscriber on the blog by clicking the blue follow button on the top right and my You Tube Channel so that you get all the projects.
Please note that I am not endorsing any particular products nor am I being compensated for using them. I am sharing an idea and hope that you will be able to use products from your own stash to create a similar card 🙂 I love to make use of all the supplies I’ve collected, regardless of age! I apologize if it gets frustrating when some are retired, but I have found that many of these, or very similiar items, can be acquired on the used market. I’ve tried to give the info I have on each product so you can go looking if you like…happy hunting!
Supplies:
- Spotlight on Nature & Sweetly Scripted Stamp Set
- Card, Ink, Ribbon, Embellishments, Leaf Punch & Embossing Folder ~ Stampin’ UP!
- Firework Burst Stencil ~ Pretty Pink Posh
Thank you for stopping by, please let me know you visited by hitting the LIKE button or in a comment, by using that box at the end of this post. You can subscribe to my FaceBook Page here.
Happy Paper Craftin’


